
How to roll maki sushi
This might look like a really long recipe, but actually it’s very easy if you follow it step by step. I wanted to make sure I’d given you all the details here, clear up some misconceptions, and provide every step you need to follow in order to make the perfect maki roll. This will take a little bit of practice, but after four or five rolls, you’ll get the hang of it.
Maki rolls are not as popular in Japan as they are in the west, but they are a great way to start learning how to make sushi for your family and friends. If there is one tip to takeaway, it is not to try and add too many fillings! Less is more. You will appreciate the true flavors and it will be easier to make.
Take one of my maki sushi classes on the booking page if you want to truly master these.
With the right technique, you can master sushi easily at home.
Before you roll
Rice
1. Make sure you have the rice ready and at body temperature before you start. See how to cook it here.
Wasabi
2. Put 20g wasabi powder in a small bowl, then add 2 tablespoons of cold water and whisk vigorously to create a thick paste. It should be about the
consistency of toothpaste. You can add a little more water if you need to.
Rolling Mat
3. Now take the bamboo rolling mat and wrap it with cling film. Roll the cling film out on the table and then place the mat on top. Then roll the cling film over the top of the mat so it is completely covered.
4. Now break the cling film and repeat the process, this time wrapping the mat the other way. Make sure you wrap it both ways so that there are no gaps.
5. Make a few pin-prick holes with the tip of a knife to let the air out.
6. Press it down with your hands to make sure there is no air left inside. This process makes sure the rice doesn't stick to the mat, and makes it much easier to roll. It’s also much easier to wash afterwards!
Tezu
7. Mix the 10g rice vinegar with about 150ml cold water in a small bowl. This is called ‘tezu’ and it’s to keep your fingers wet during the rolling so that the rice doesn’t stick to them. The vinegar is anti-bacterial.
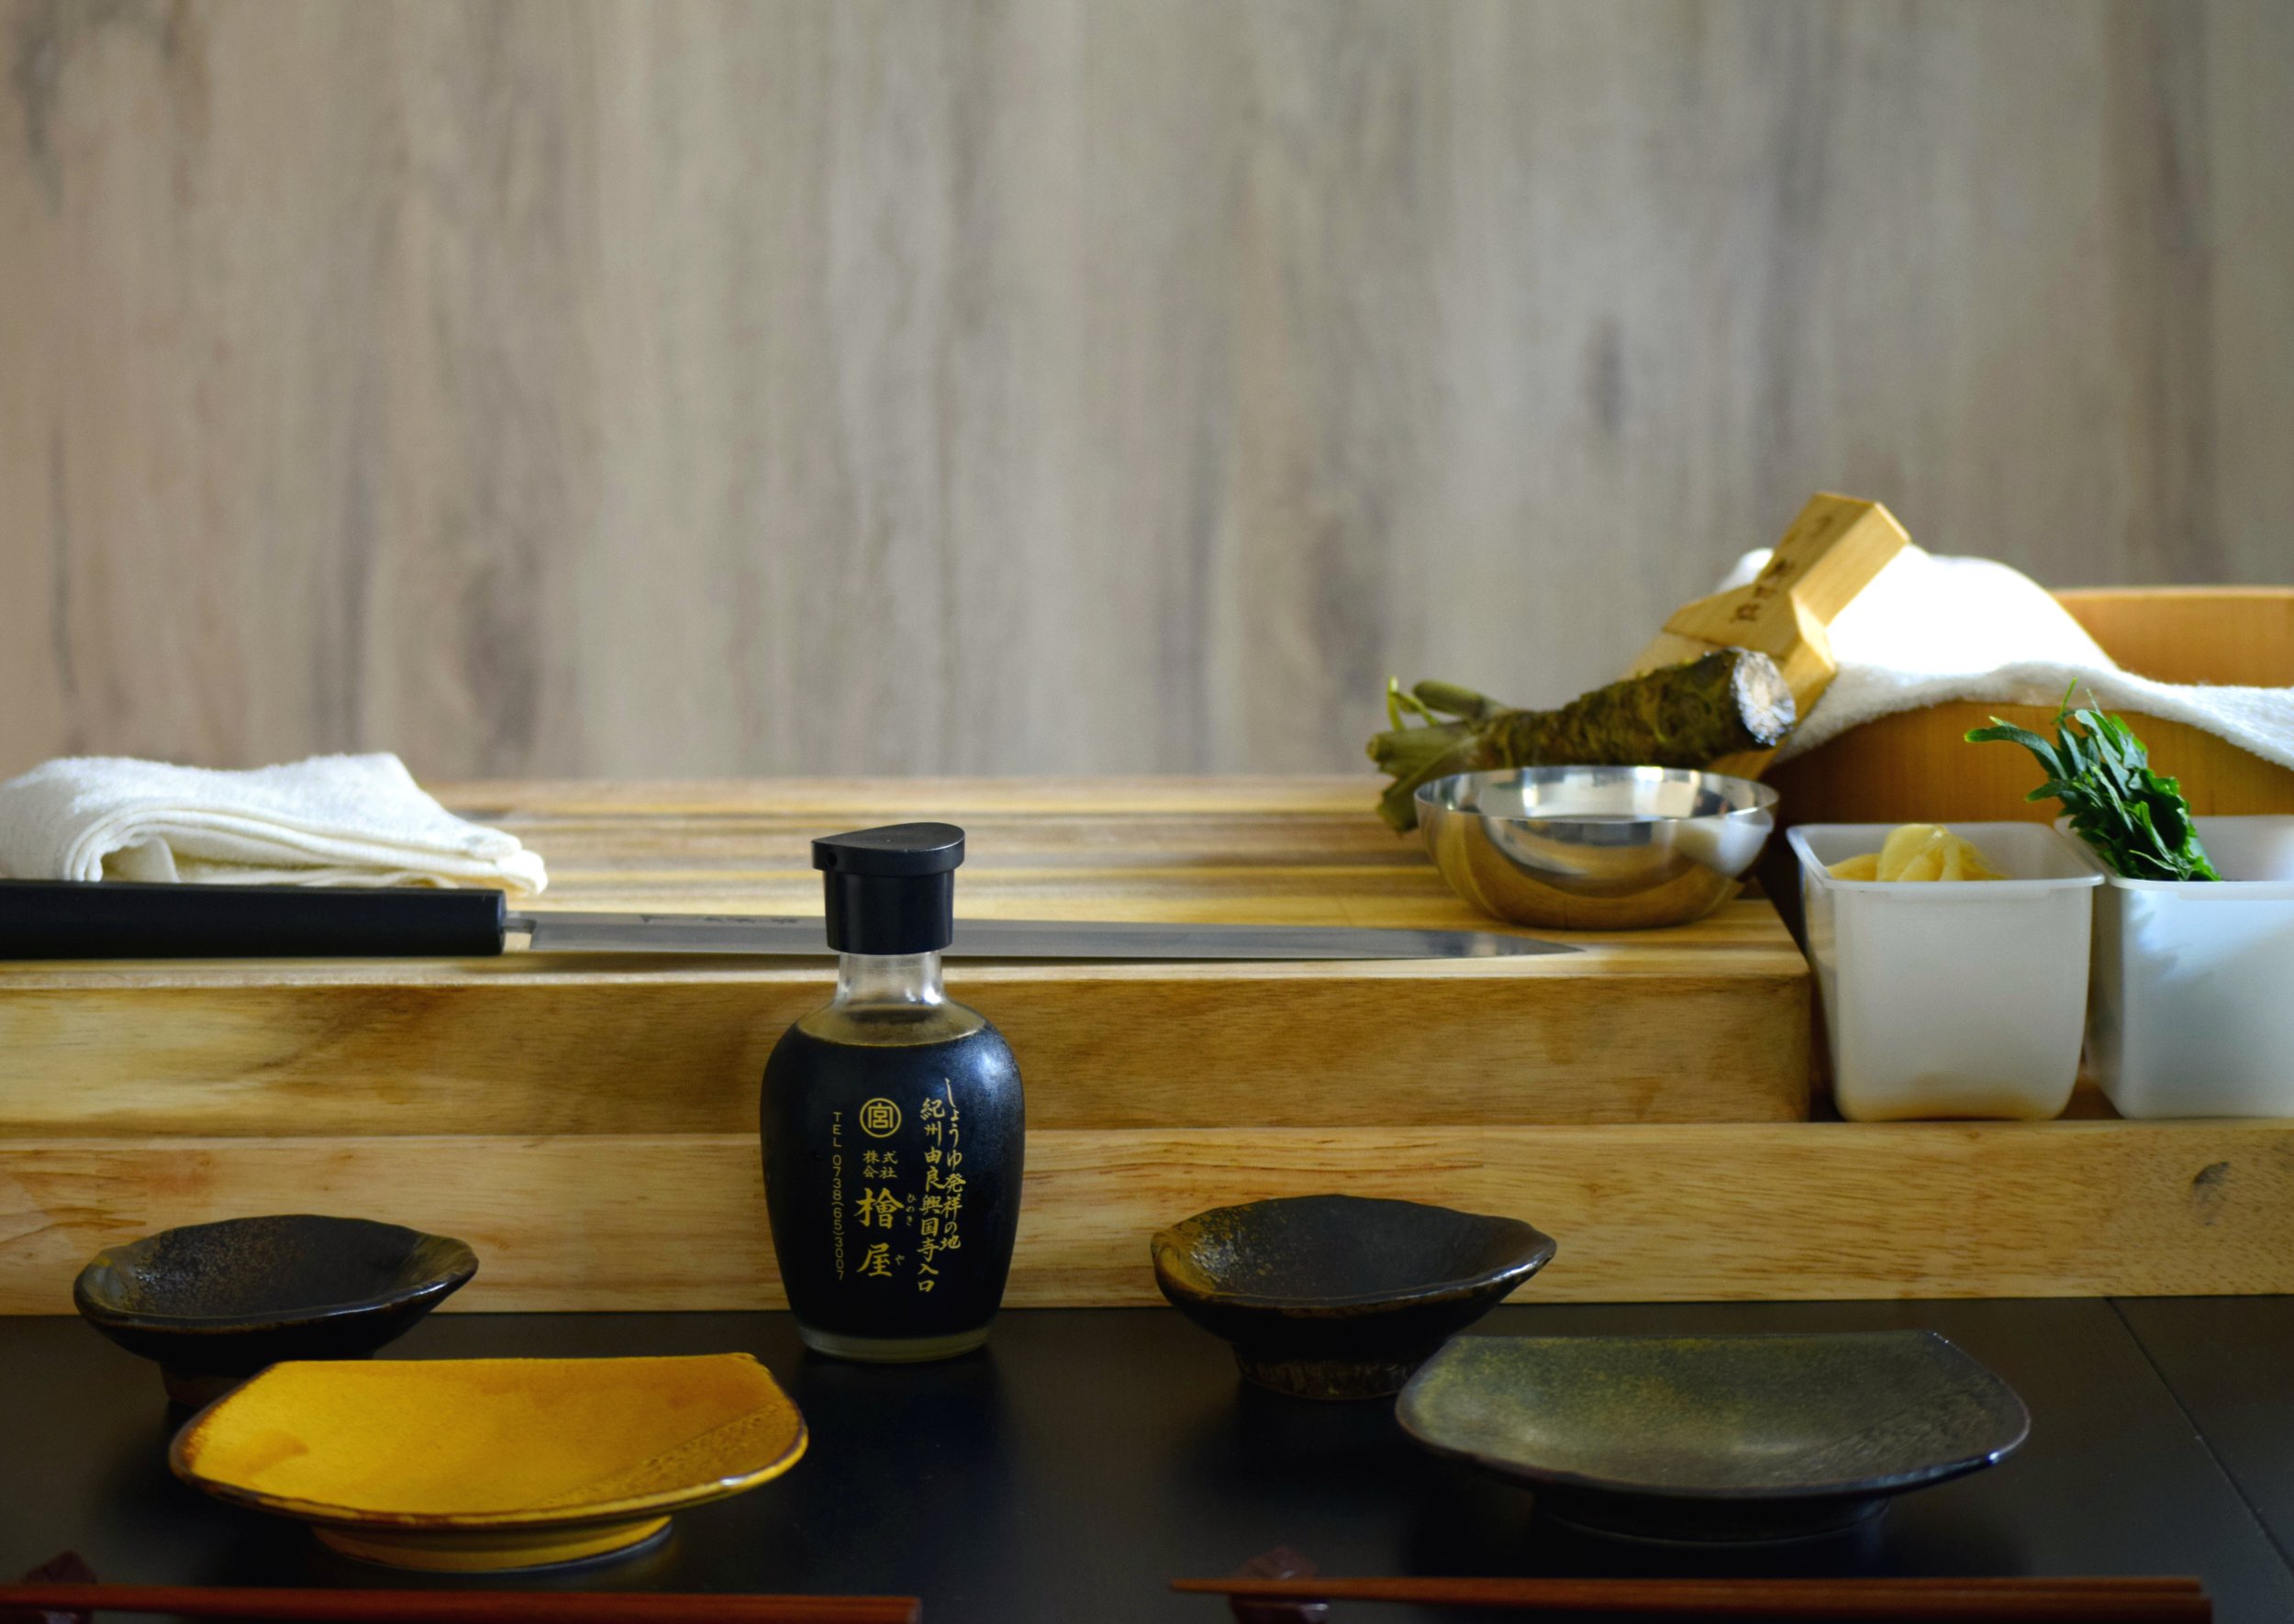
Take the time to properly set up your work station, you will reap the benefits in flavor and consistency of your sushi.
How to roll futomaki (fat roll) and hosomaki (thin roll)
Futomaki and hosomaki follow the same rolling technique, but futomaki is rolled from the short side of the nori, and hosomaki from the long side.
1. Arrange all the fillings, cooked rice, wasabi, and tezu next to your rolling mat.
2. Now take a nori sheet and place it on the rolling mat. There is a rough side and a shiny side to Nori. The rough side is to help the rice stick, so make sure the shiny side is facing down.
3. Wet your hands in the tezu, then clap them together away from the table. This is to get rid of the excess water. Any water dripping will make the nori wet, and it will break more easily when you are rolling.
4. Now scoop up some rice with your fingers, about enough to fill the crook of your hand (approx 40g-50g). But make sure not to squeeze the rice. It is very important to treat the rice with care as after all the effort that went into washing and cooking it correctly, you don't want to ruin it now.
5. For futomaki, place the rice gently about one-third of the way from the bottom of the sheet of the nori. Try to place it in a line that goes all the way across.
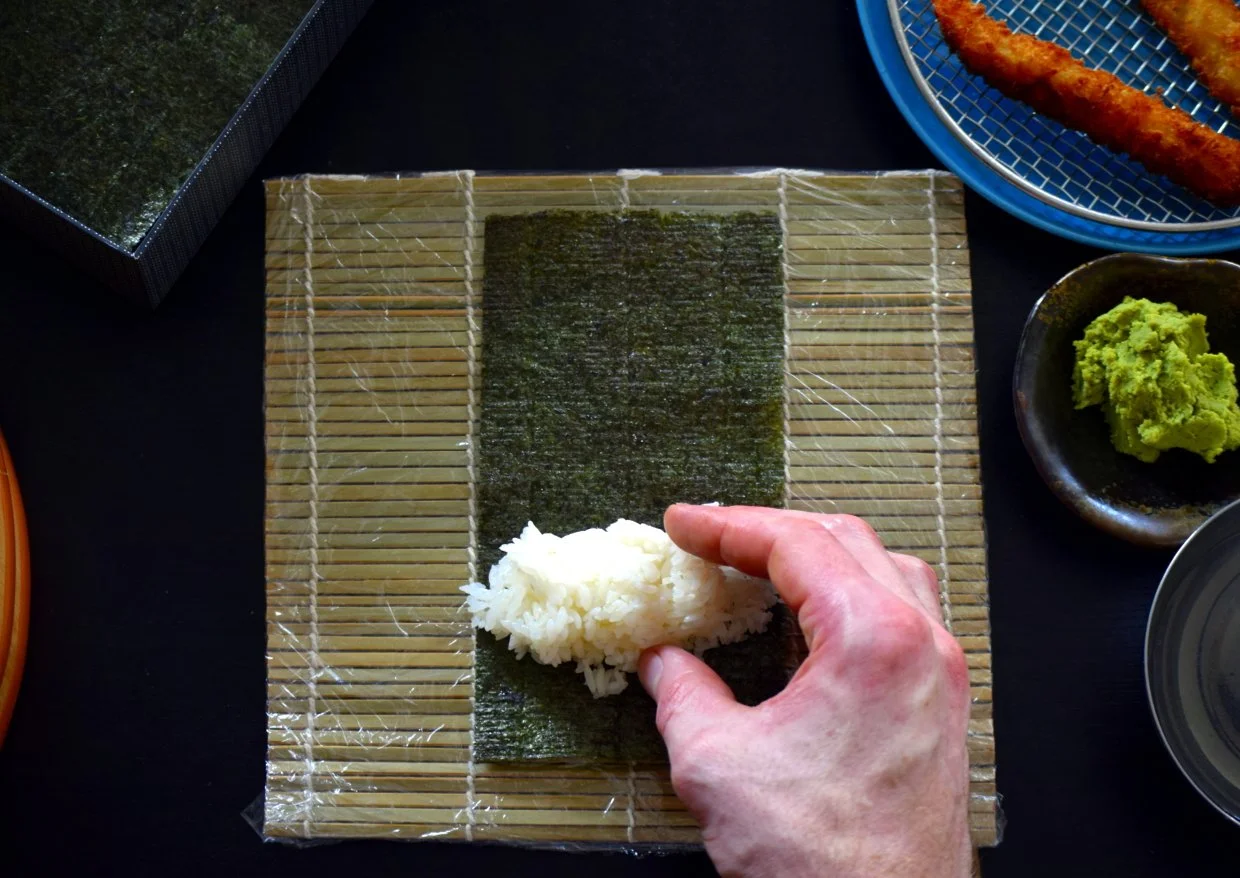
Place the rice one third from the bottom of the nori sheet (step 5).
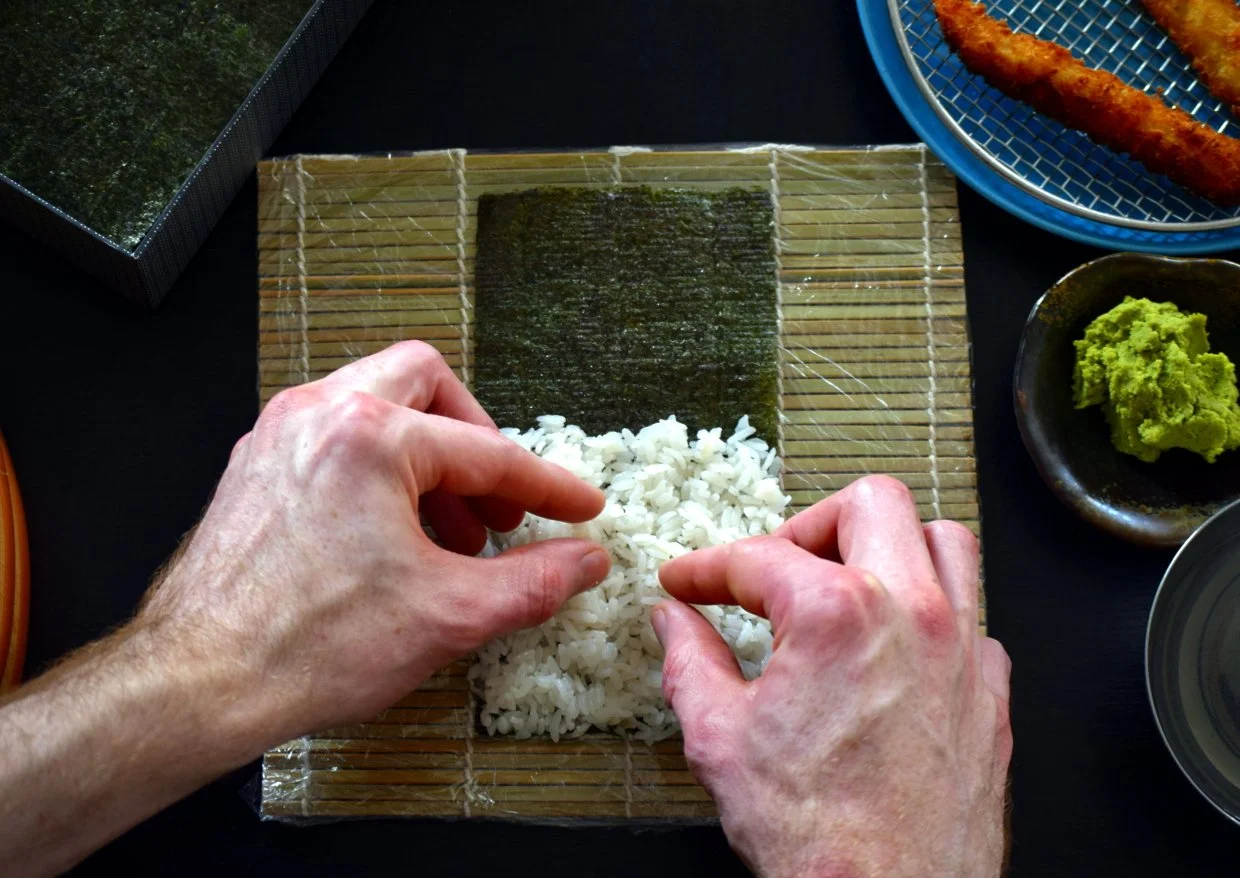
7. Next, use your fingertips to spread the rice down to the bottom of the sheet. Just pull the rice in a backwards movement, don’t press downwards. You will see many videos on YouTube or TikTok where they are pressing down with the hands. This is incorrect.
If you press the rice it will become chewy and sticky, which gives the sushi a bad texture in the mouth, and counteracts all the effort and love you put into making the rice fluffy in the first place. The rice should be spread out, light and fluffy, so that when you eat it you can savour the texture and it ‘crumbles’ in your mouth.
8. Next, use your thumbs to push the rice forwards, up to just over halfway up the nori sheet. Again, don't press the rice down, just drag it forwards. It will feel loose at first, but that's fine, as it will tighten when you roll the sushi.
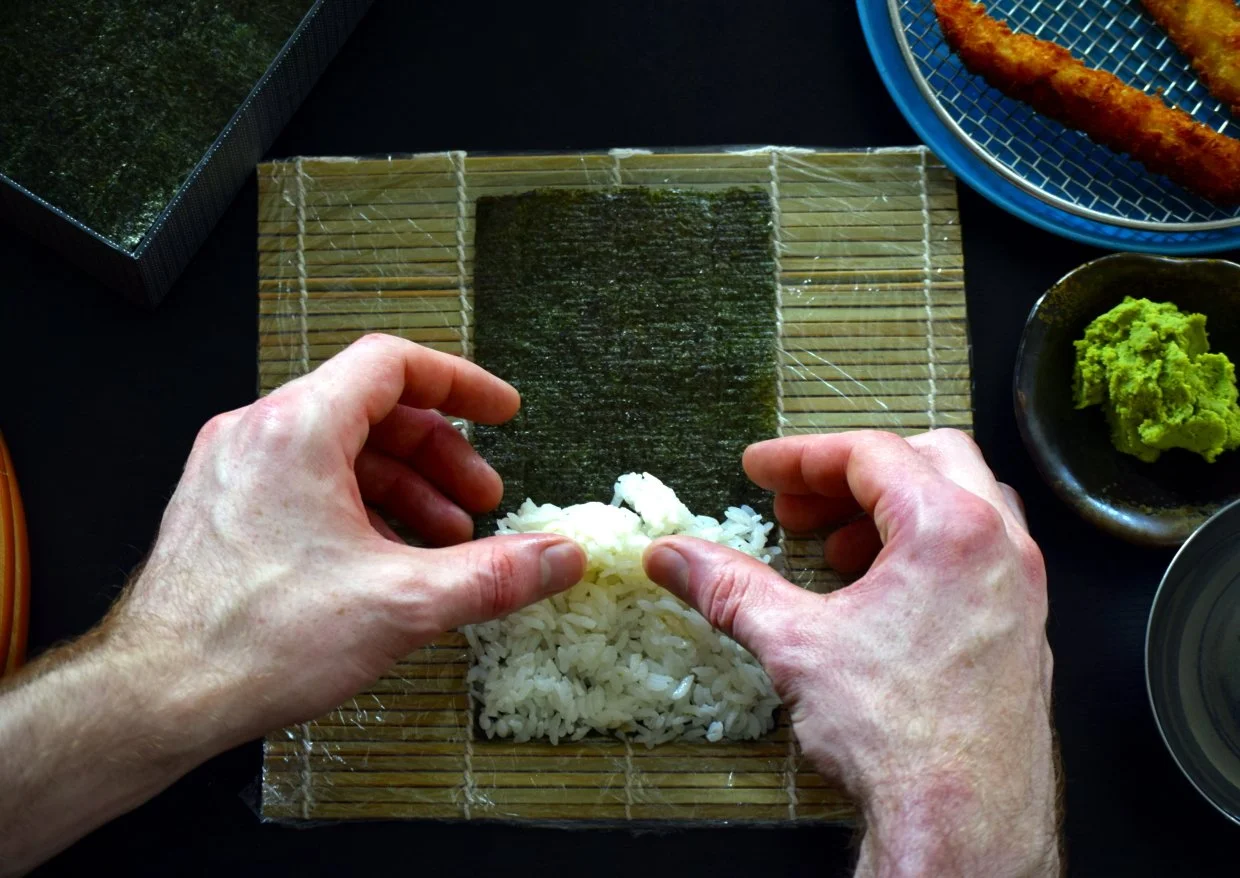
Loosely position the rice onto the nori without pressing (step 8).
9. Make sure the grains of rice are evenly spread over the half of the nori. The rice needs to be touching the sides and bottom.
Spread the rice evenly over the roll without pressing (step 9).
10. Spread a line of wasabi in the middle of the rice using your fingertip.
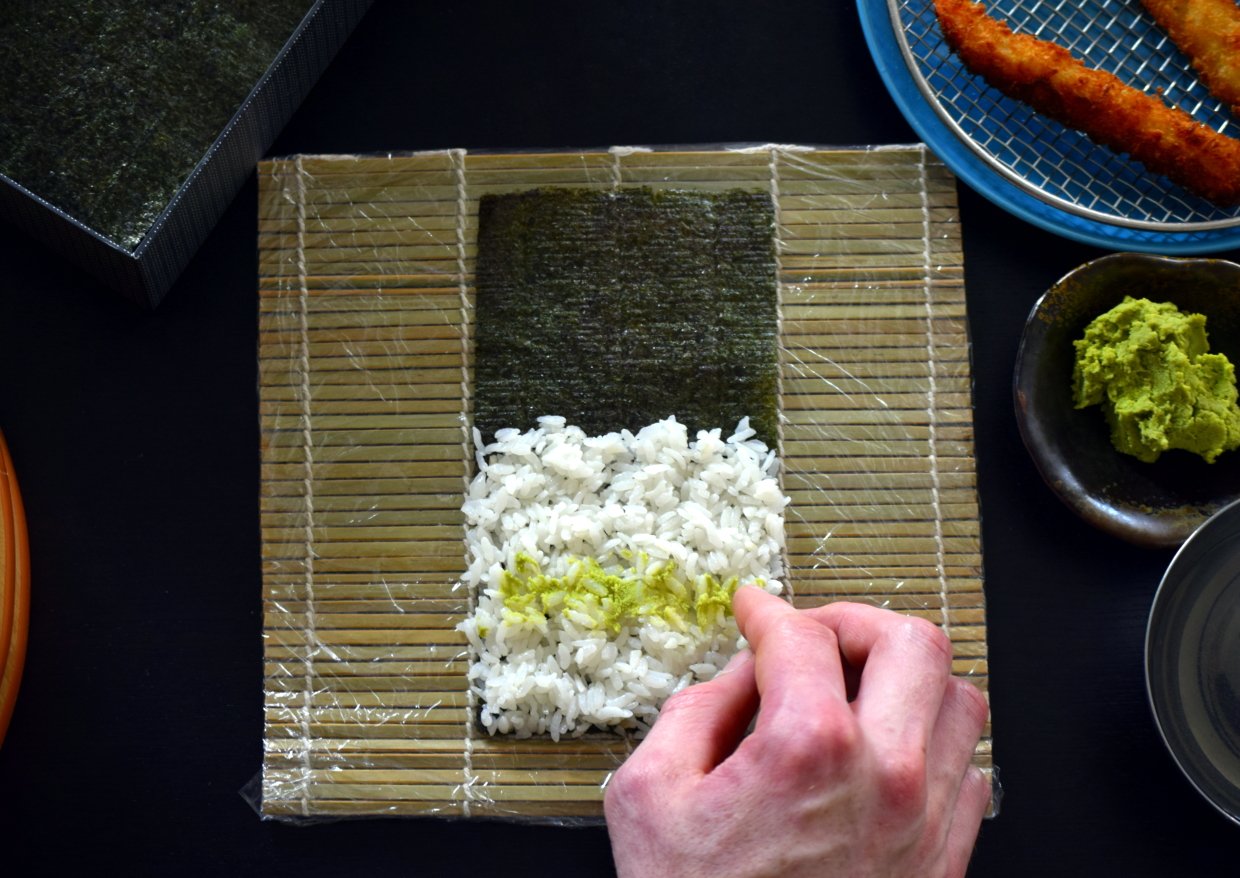
Add a thin line of wasabi using your finger (step 10).
11. Next place the fillings on top of the wasabi in the middle. Don't be tempted to put too much filling or it will burst when you roll it. Less is more.
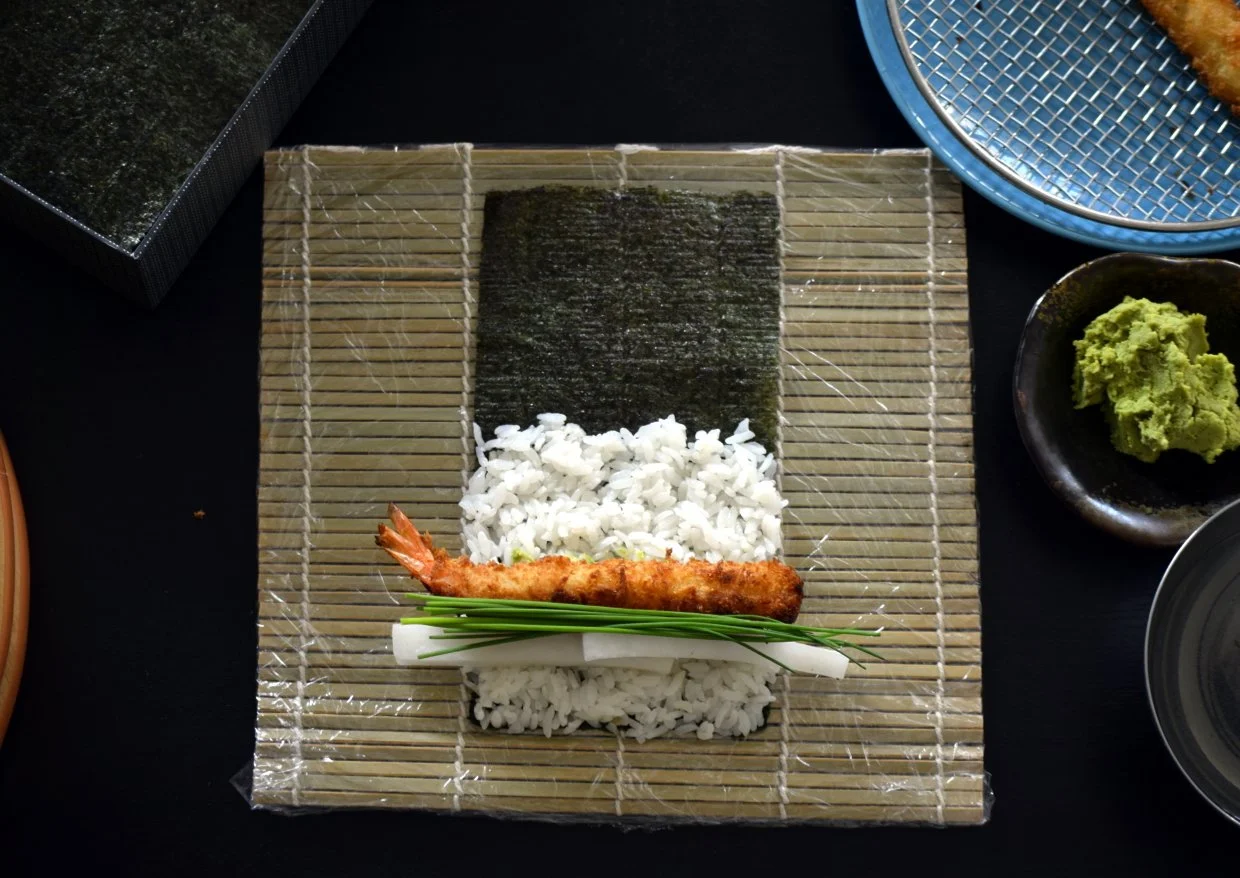
Don’t be tempted to overload your sushi roll with fillings. Keep it simple (step 11).
Rolling
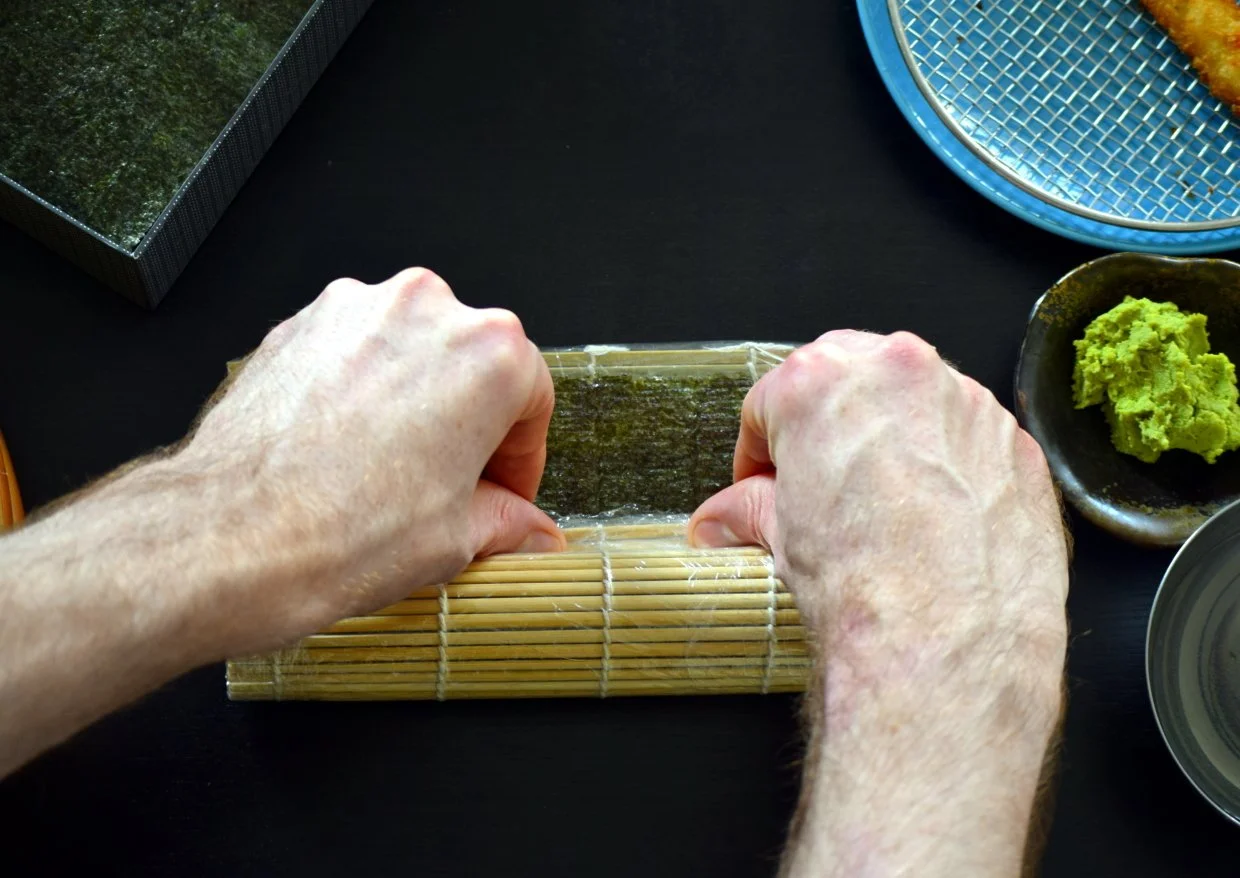
12. Pinch the rolling mat at the bottom between your index finger and thumb. Place the other three fingers on the filling.
13. Lift up the mat above the filling and slowly move it forward over the filling, keeping it up while you do this.
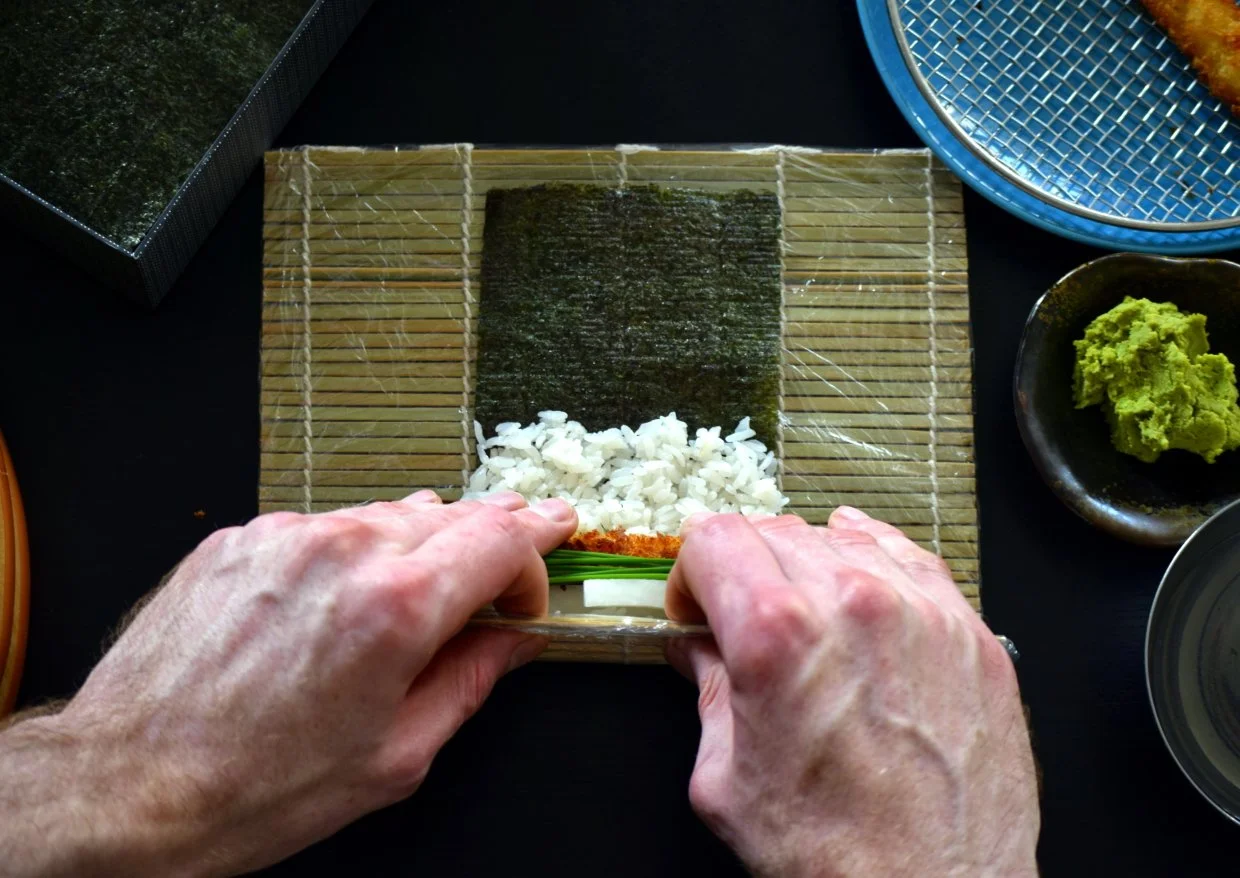
Lift up the mat from behind, keeping your fingers on the fillings (steps 12, 13).
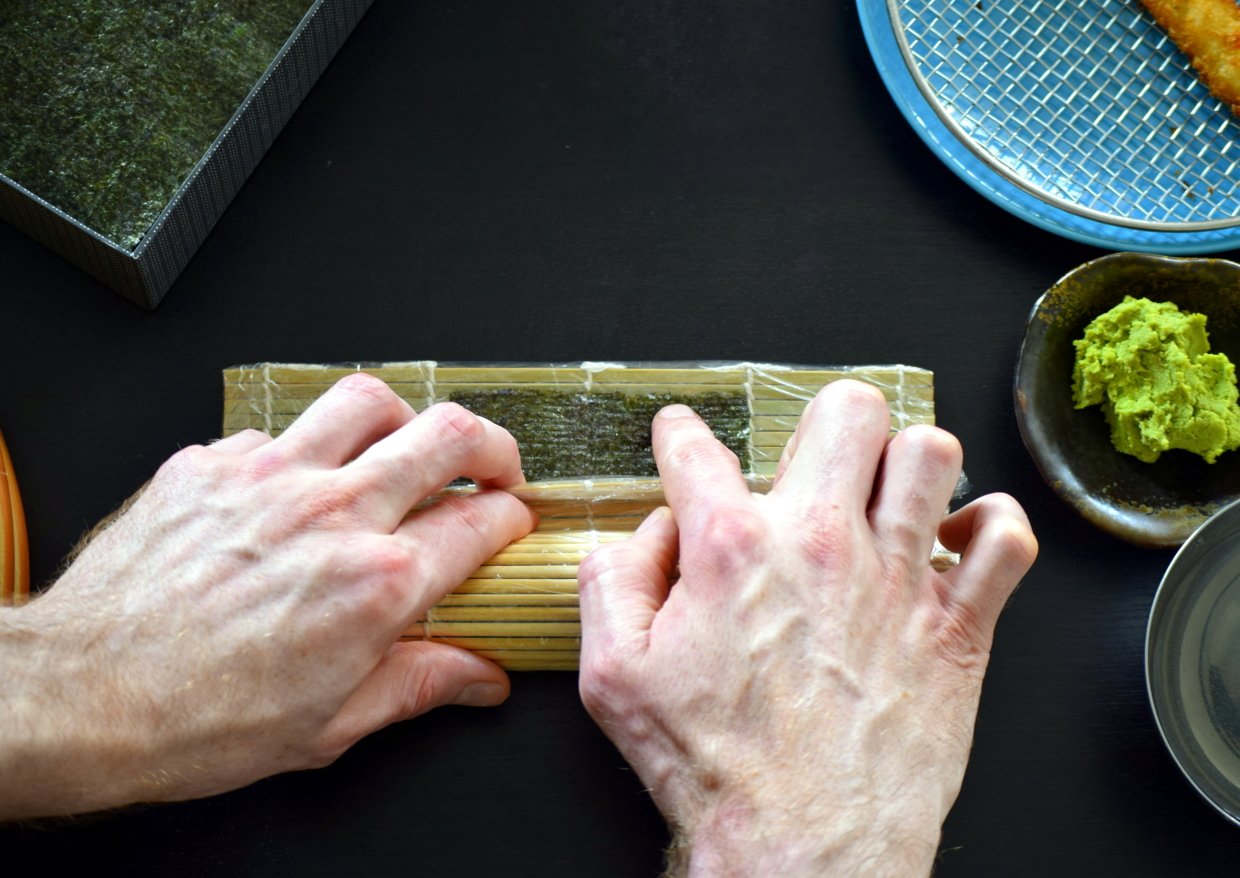
14. Keep moving until your thumbs hit the mat on the other side.
Make sure your thumbs hit the other side. You should still have plenty of nori left in front of you (step 14).
15. Now lift the tip of the mat where your thumbs hit, and using a wet finger, apply a little water to the nori that is free. This helps to stick the roll together. Be careful not to make it too wet.
With the nori using your fingertip in a line (step 15).
16. Now ‘walk’ the mat forward until you reach the end. Don’t squeeze or press while doing this. The first roll is just to make the shape hold.
Keep the first roll loose by simply bringing the mat over the sushi roll until it reaches the other side (step 16).
17. Now lift up the mat and put it back down. Bring the roll back to the middle of the mat.
Bring the sushi back to the center, ready for the second rolling (step 17).
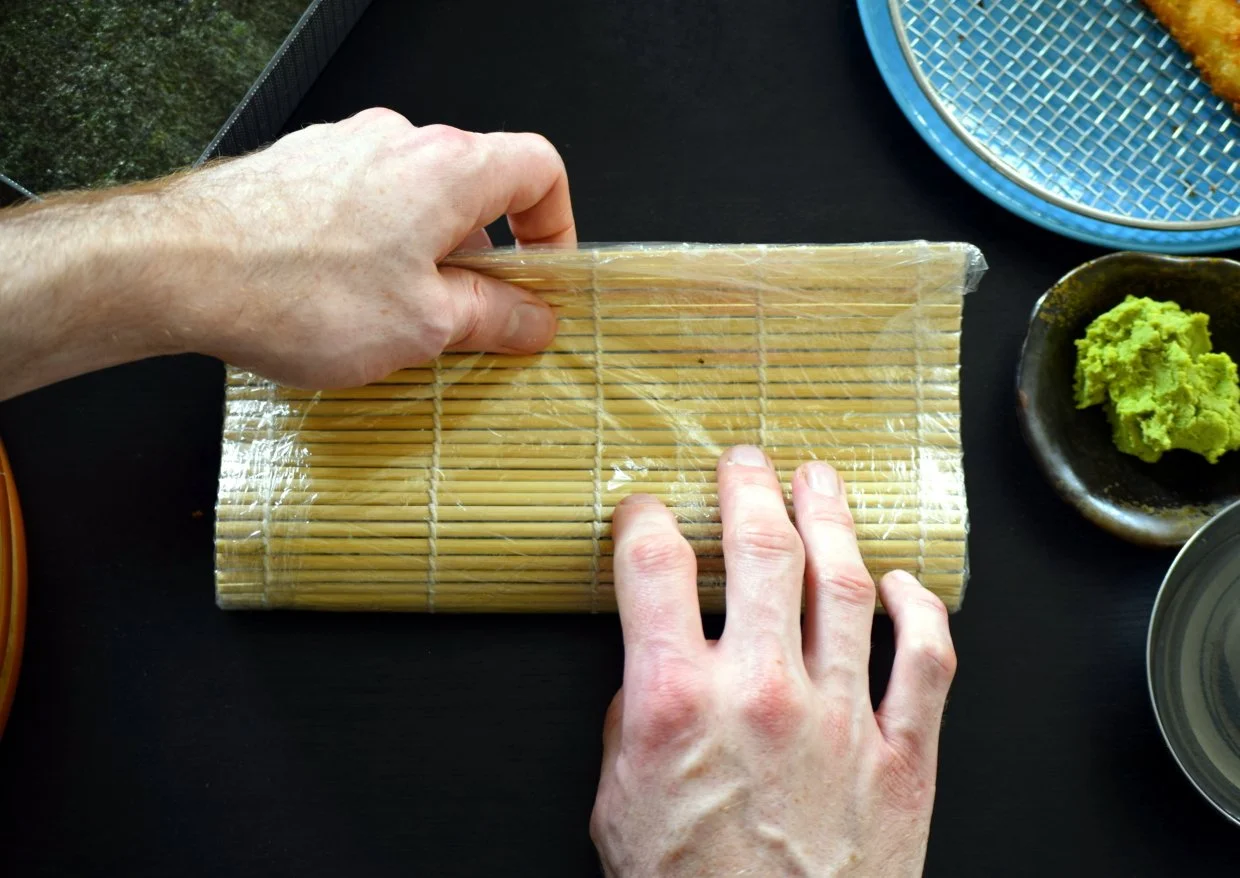
18. Roll the mat around the sushi very closely.
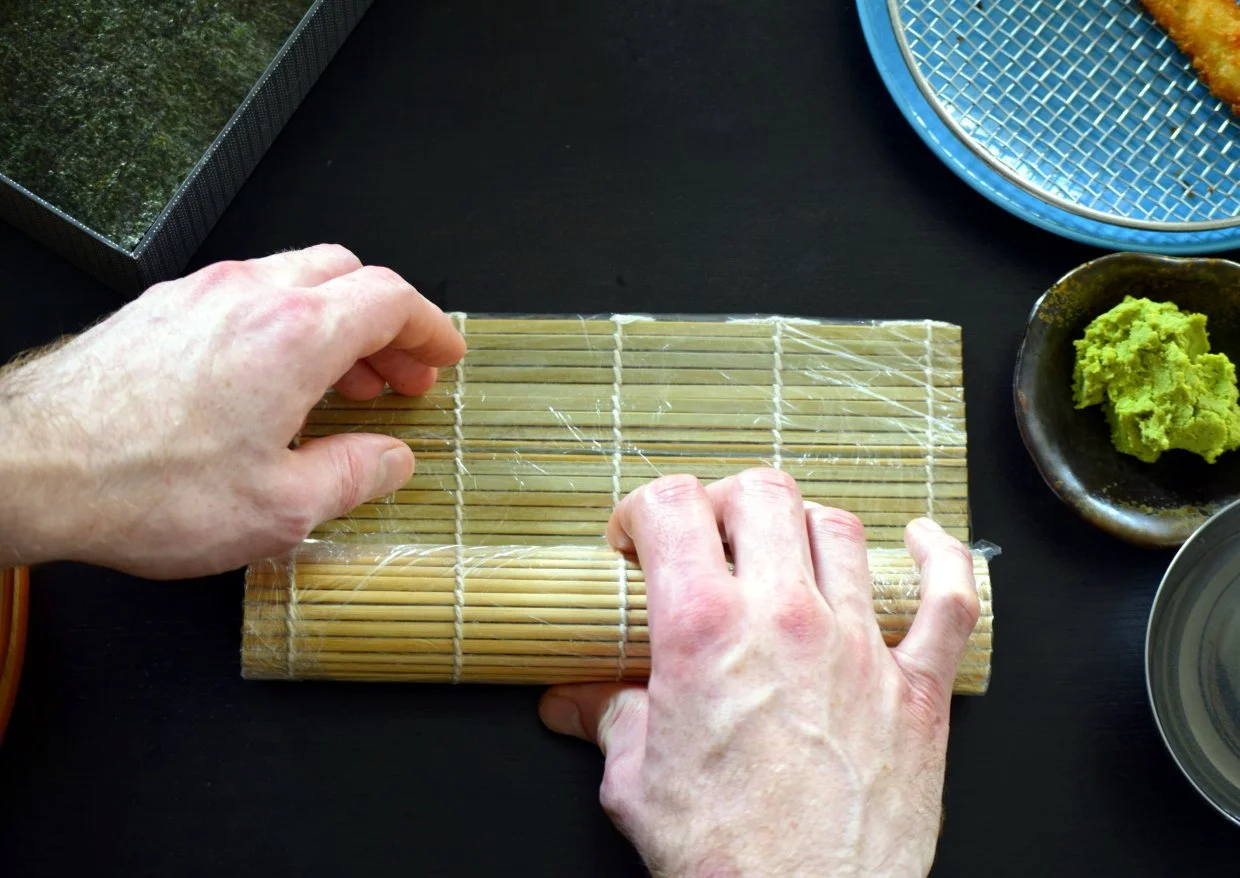
Wrap the bamboo mat around the sushi roll tightly for the second rolling (step 18).
19. Roll it slightly forward, then back and forwards a few times, applying a little pressure to tighten the roll. Don’t squeeze too much or the fillings will come out the side.
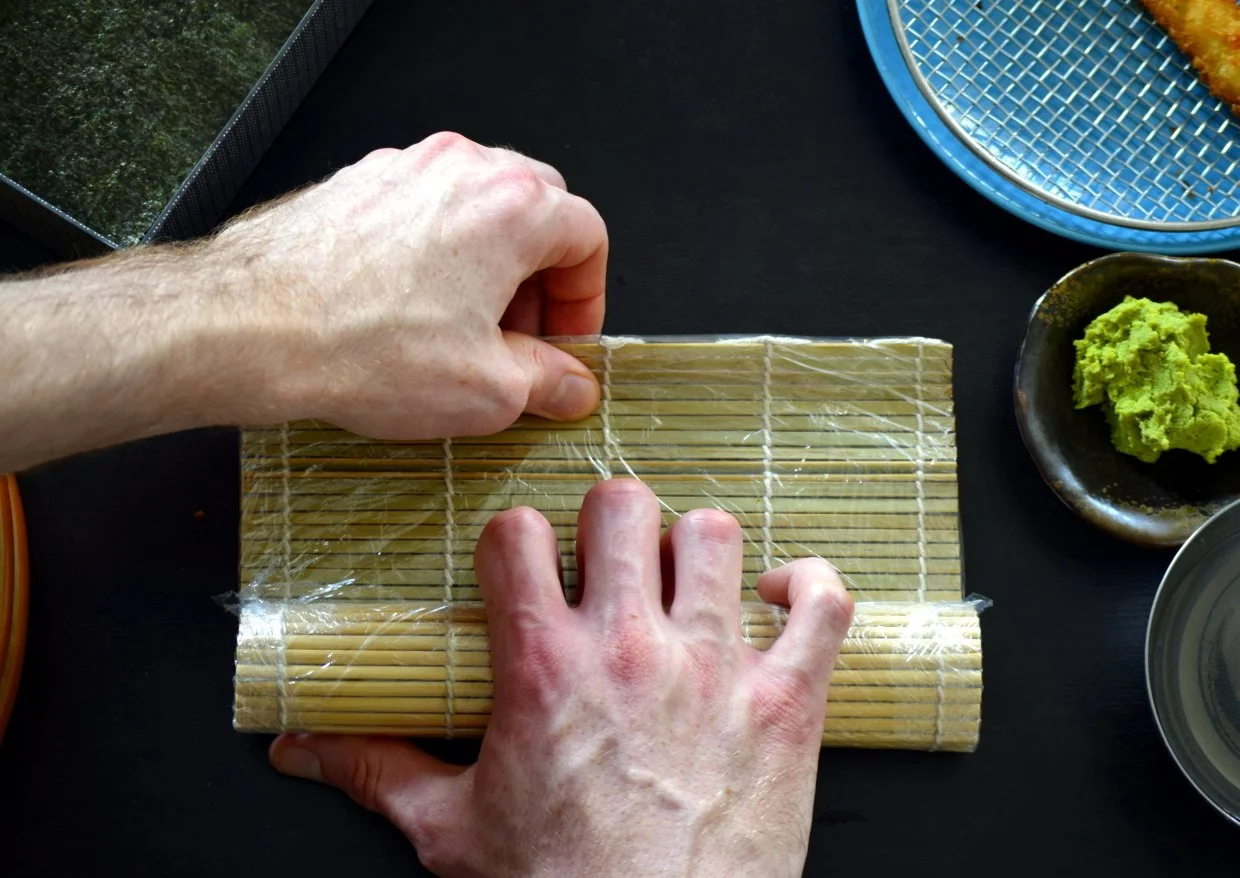
Roll back and forth, gradually tightening to make a nice round shape of the maki sushi (step 19).
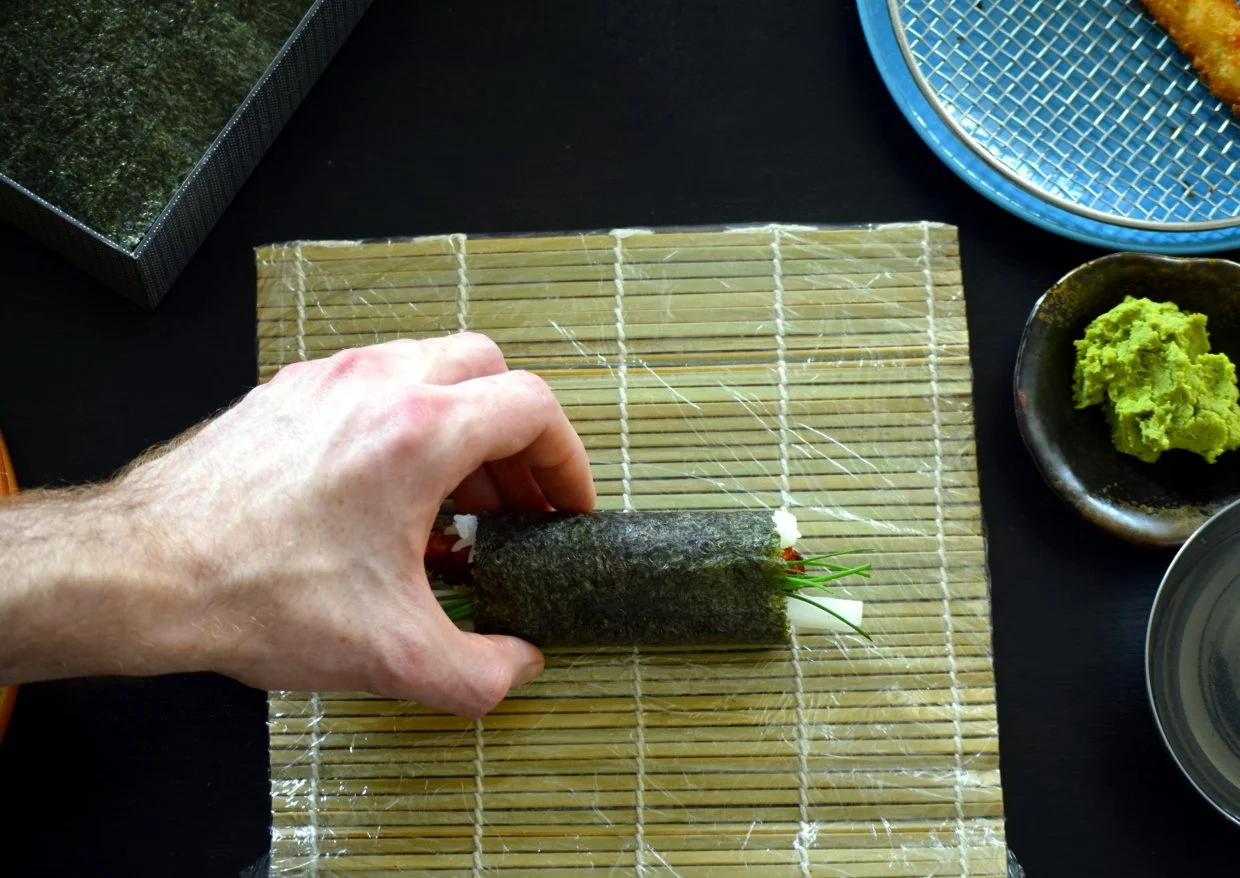
20. Now open the mat, and you should have a nice round sushi roll! Don’t worry if you don’t get it right the first time, it does take a few attempts to get the hang of it.
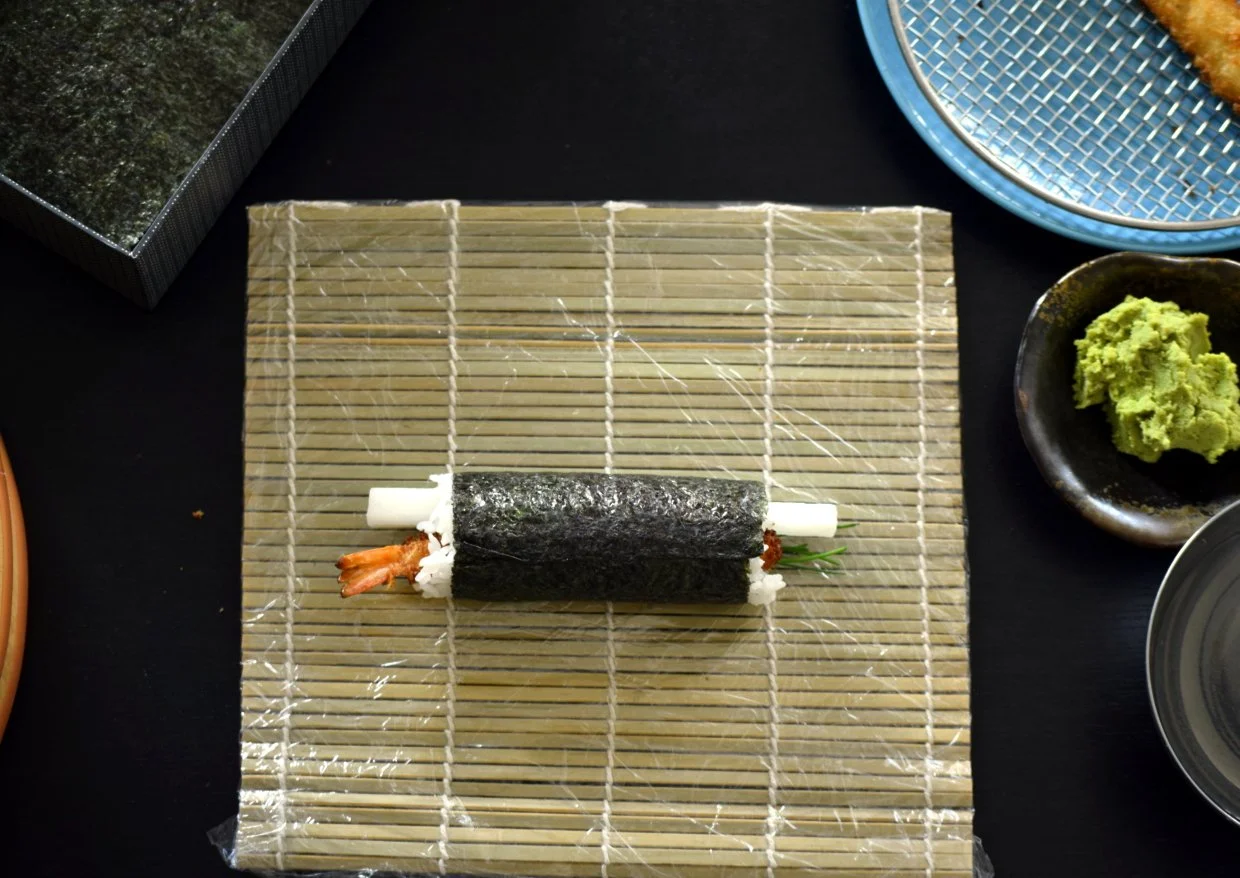
The final result should be a nice round-shaped maki roll (step 20).
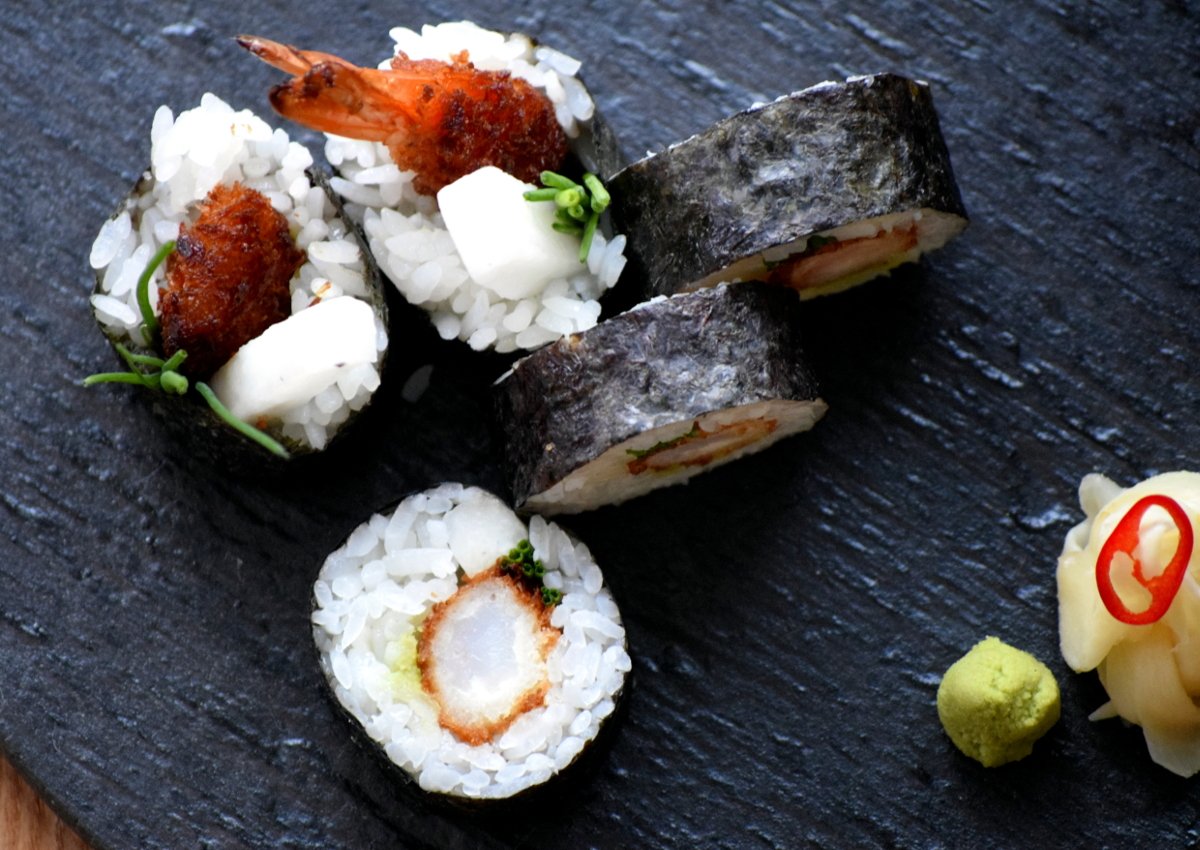
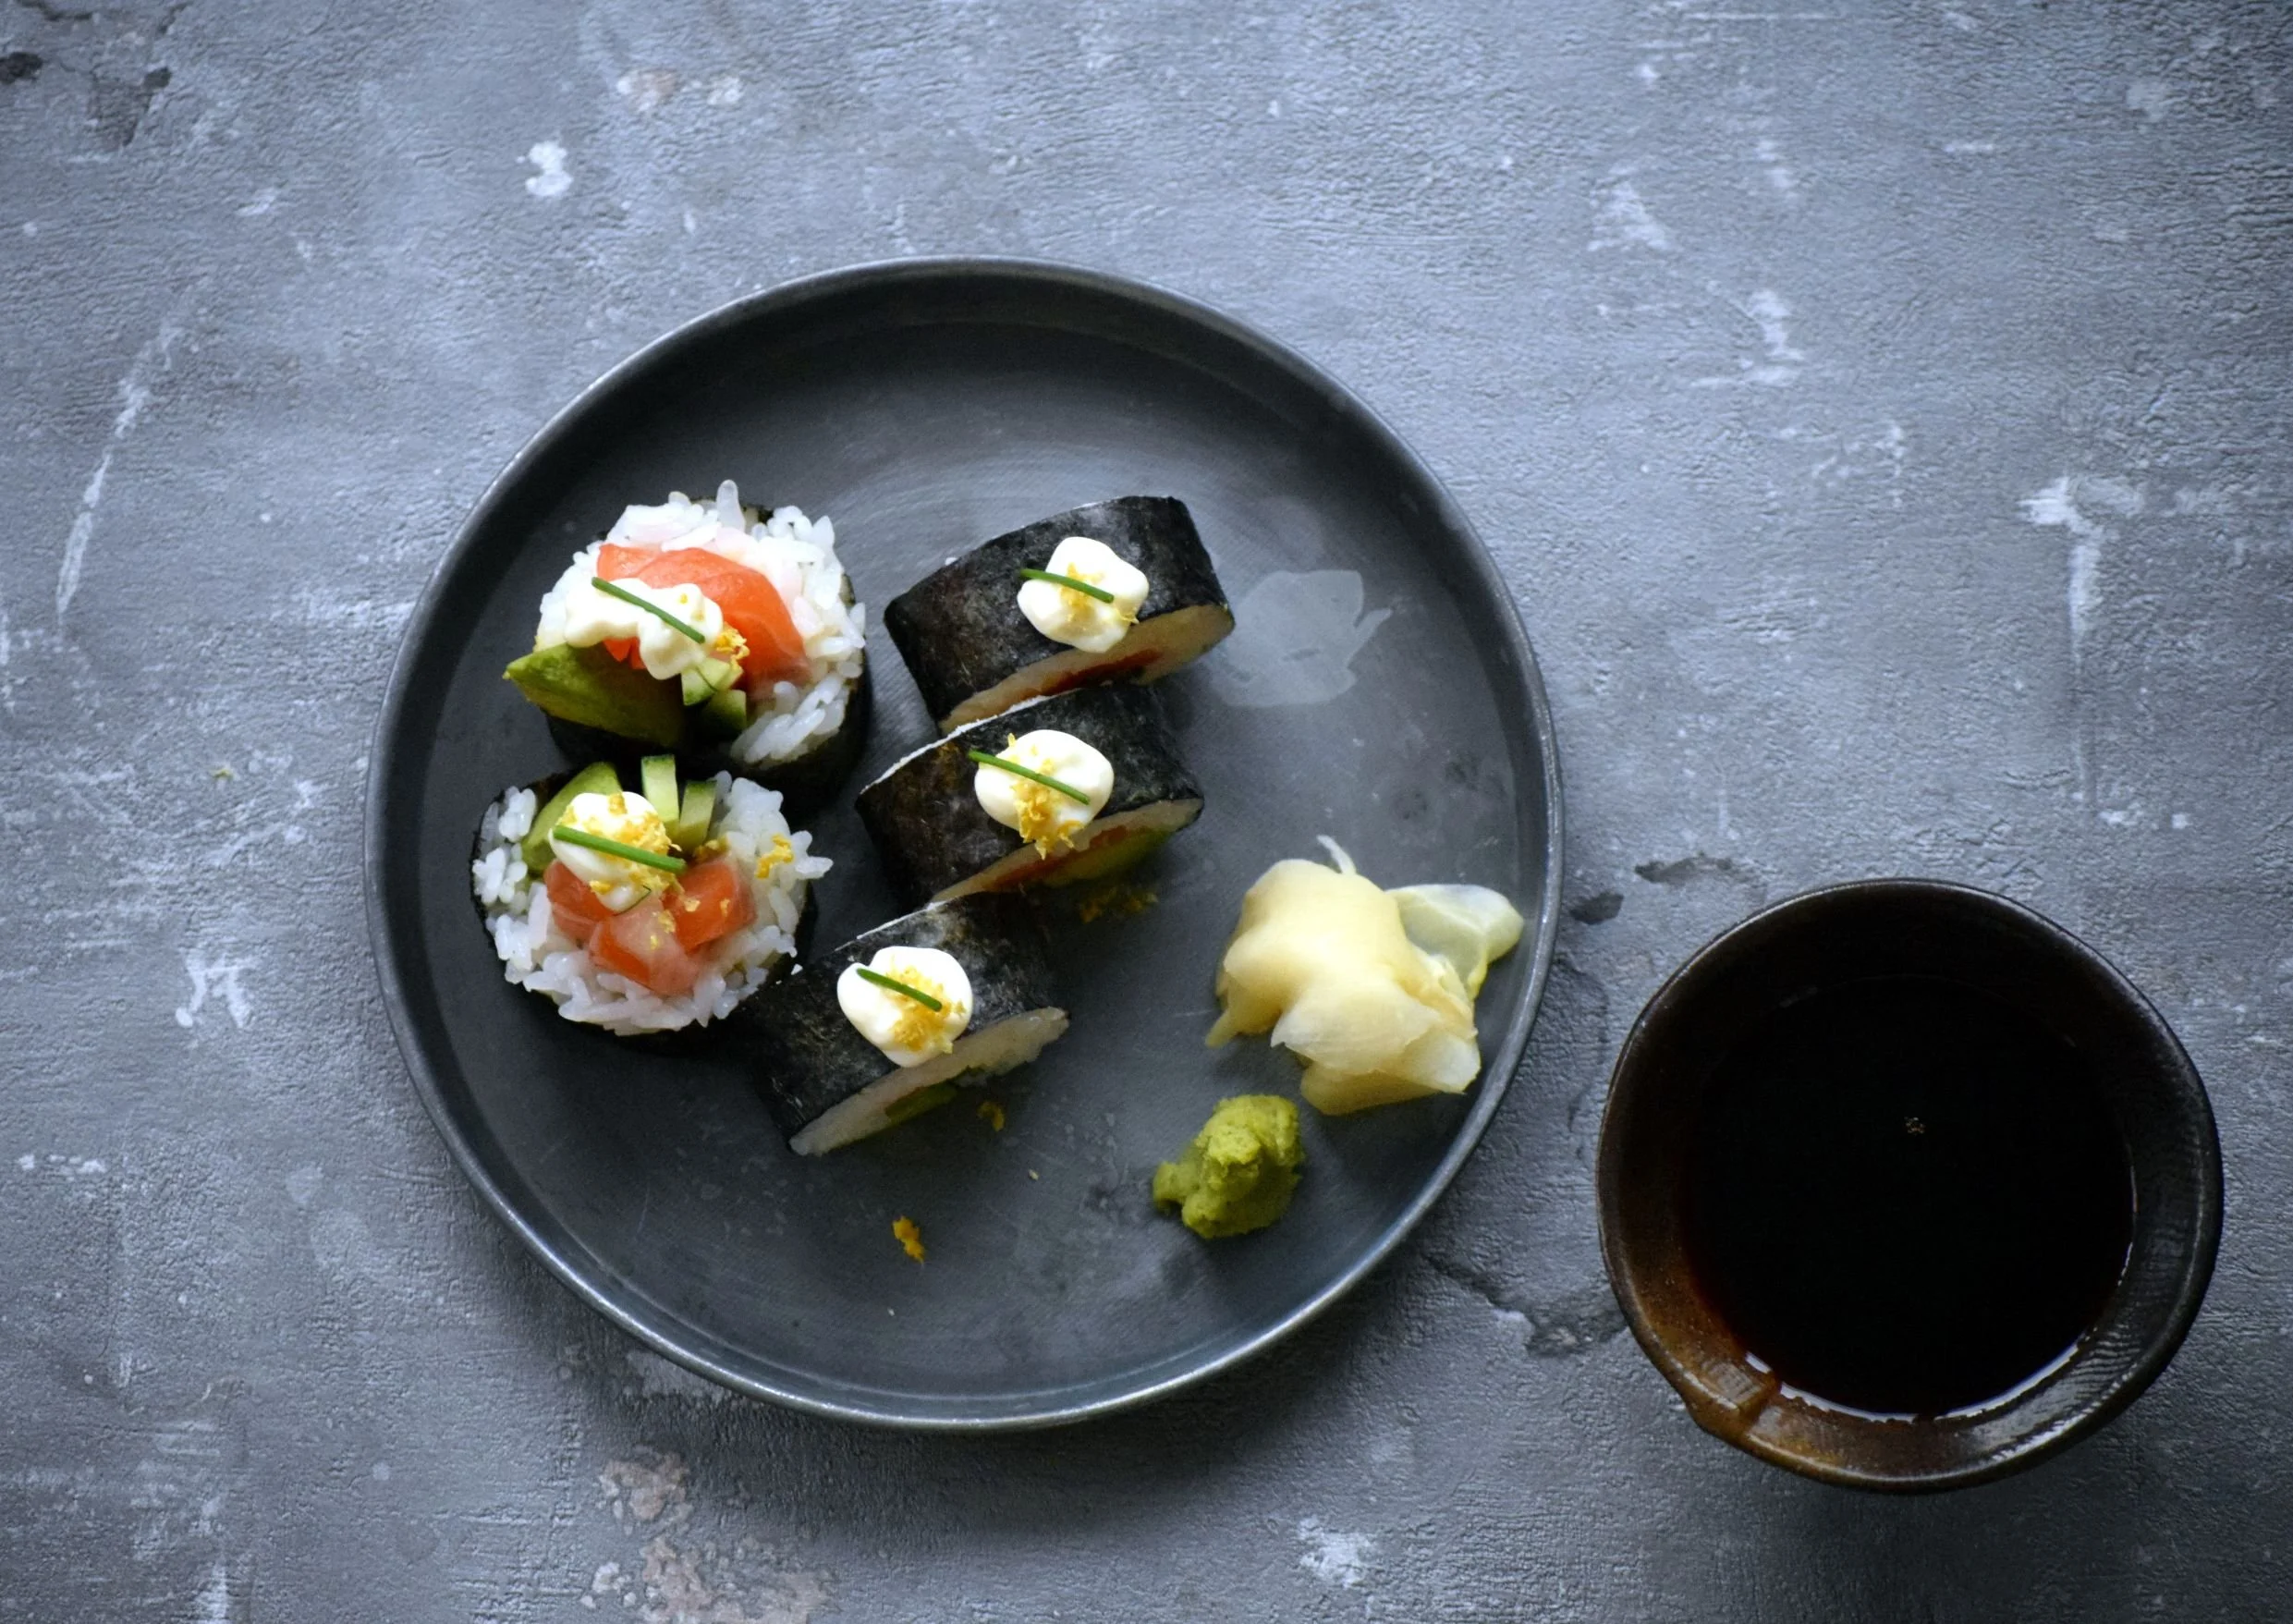
Delicious crispy shrimp maki rolls.
If you would like to learn more and improve your sushi skills, book one of our private online sushi classes, or get a copy of Kimura’s Sushi cookbook.